全国统一服务热线:
Electric Power Design
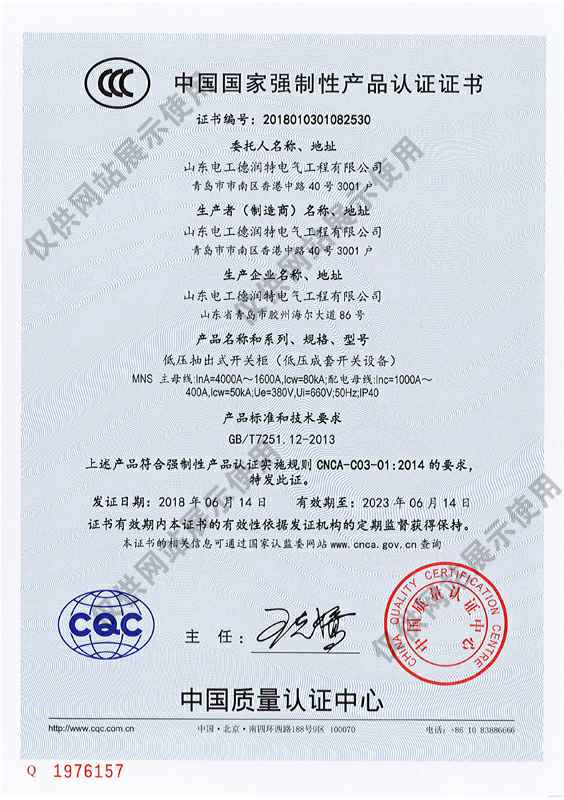
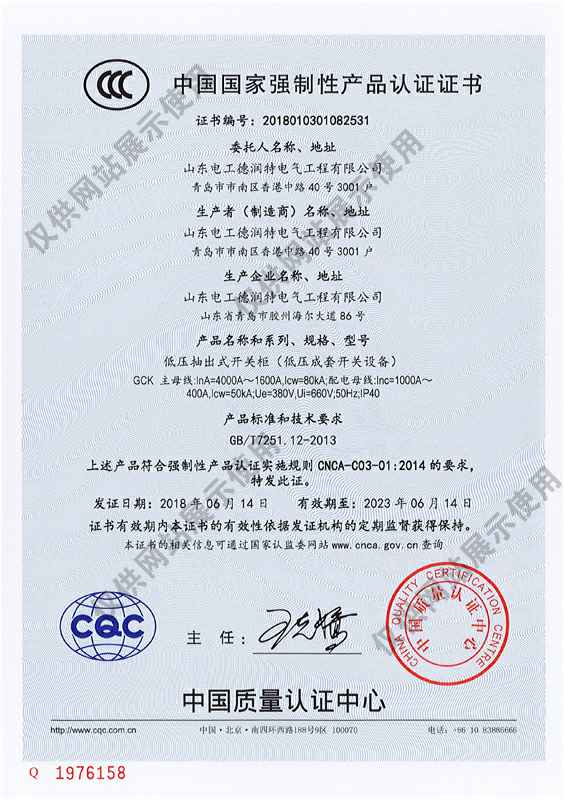
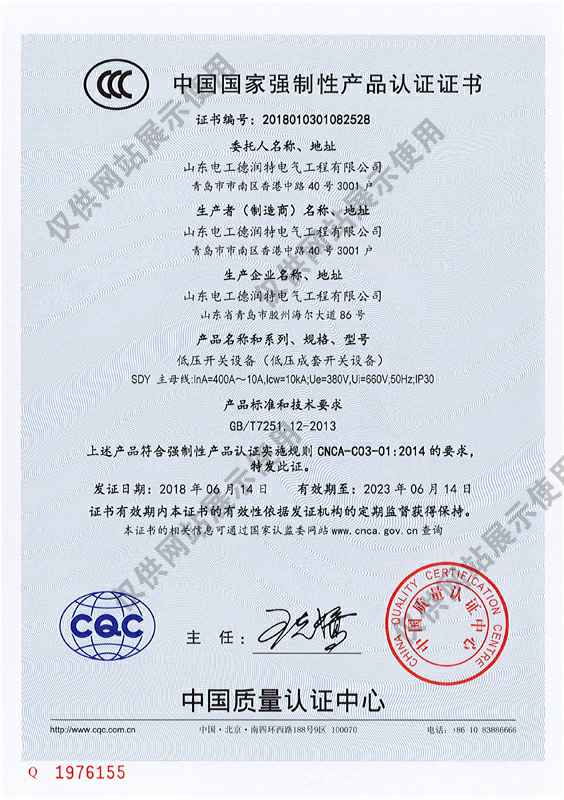
Power equipment manufacturing
Electric Operation Maintenance
Security monitoring road lighting
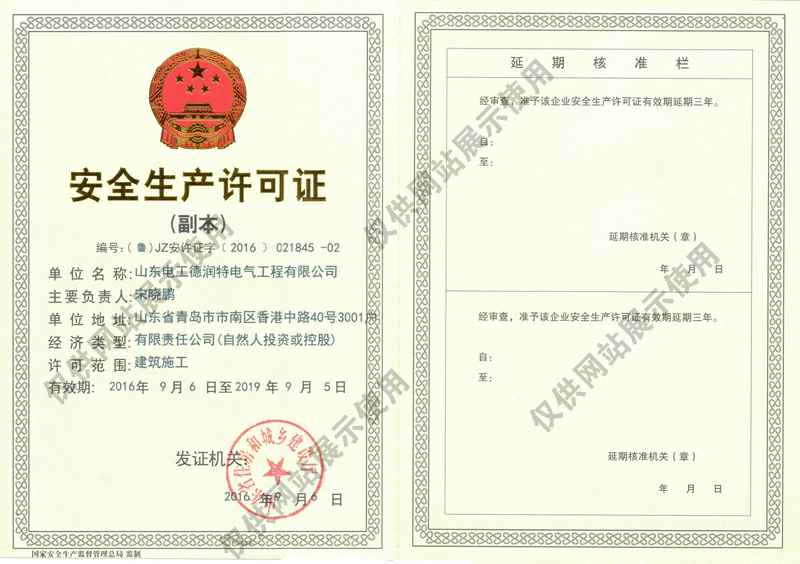
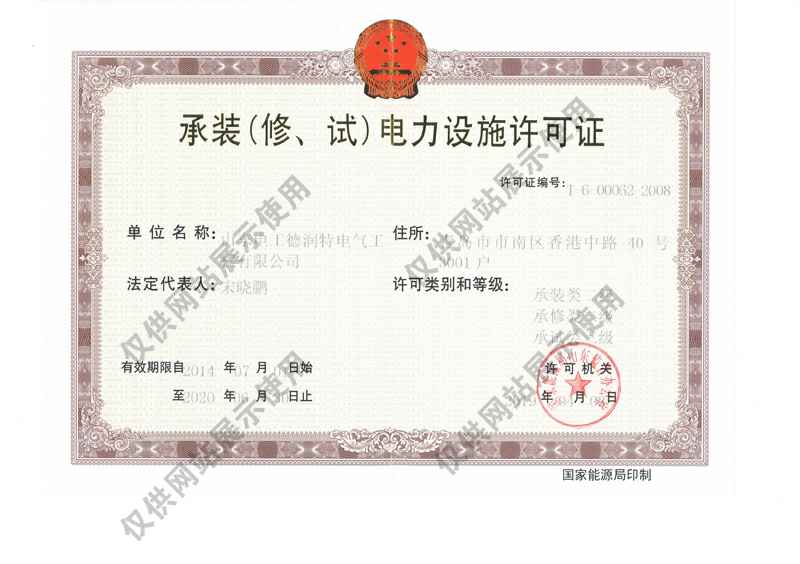
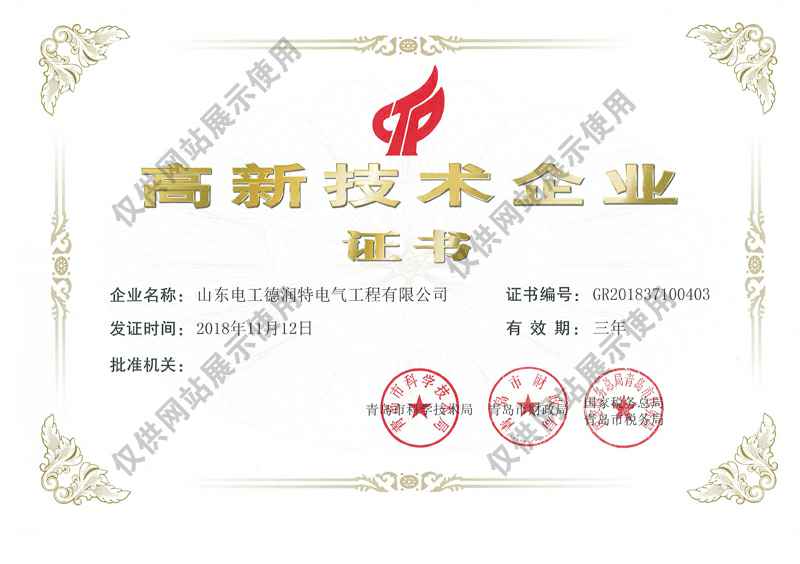
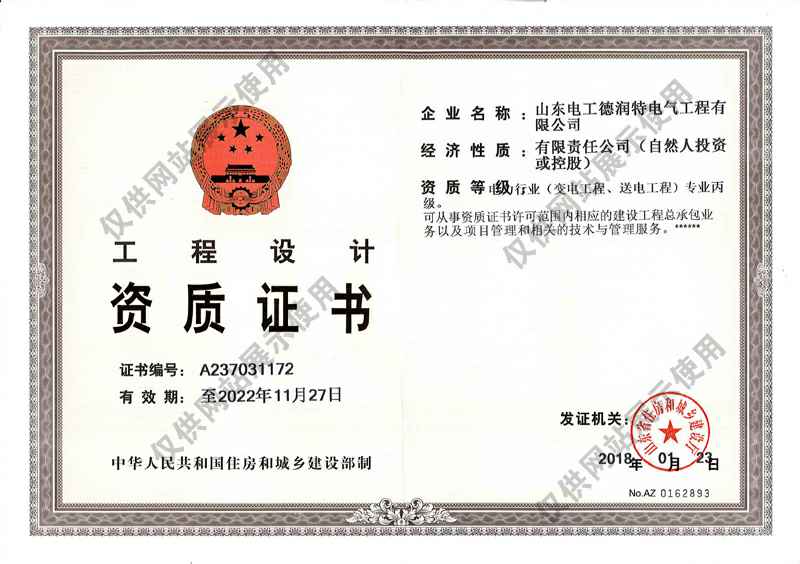
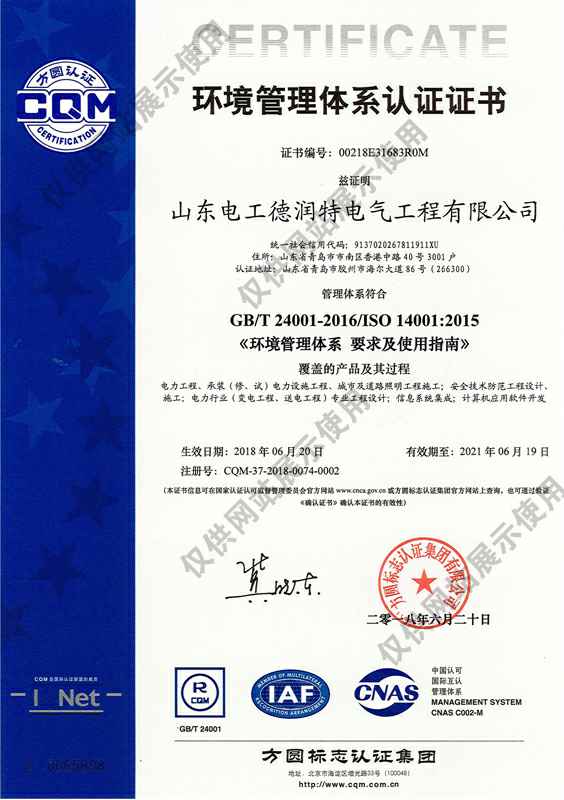
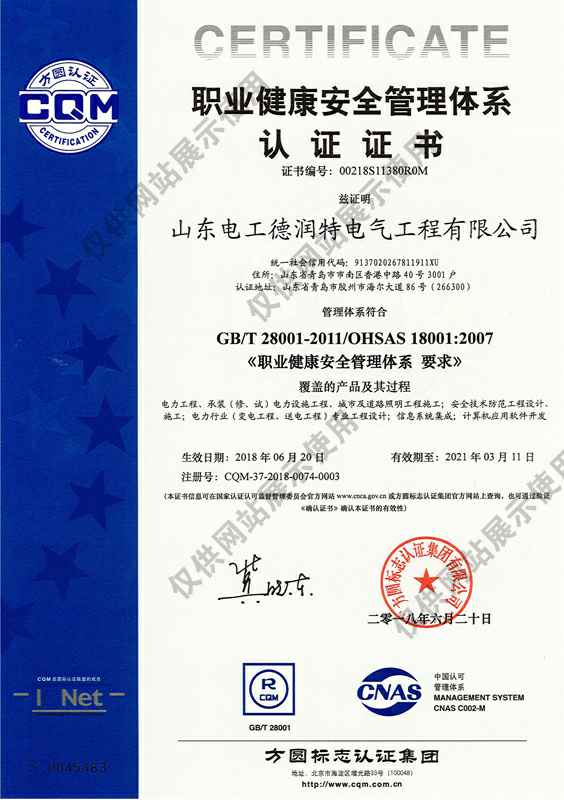
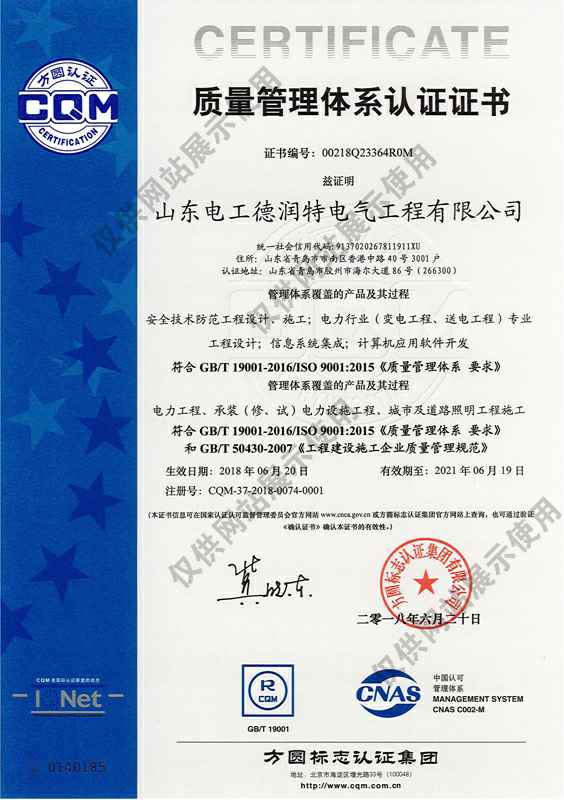
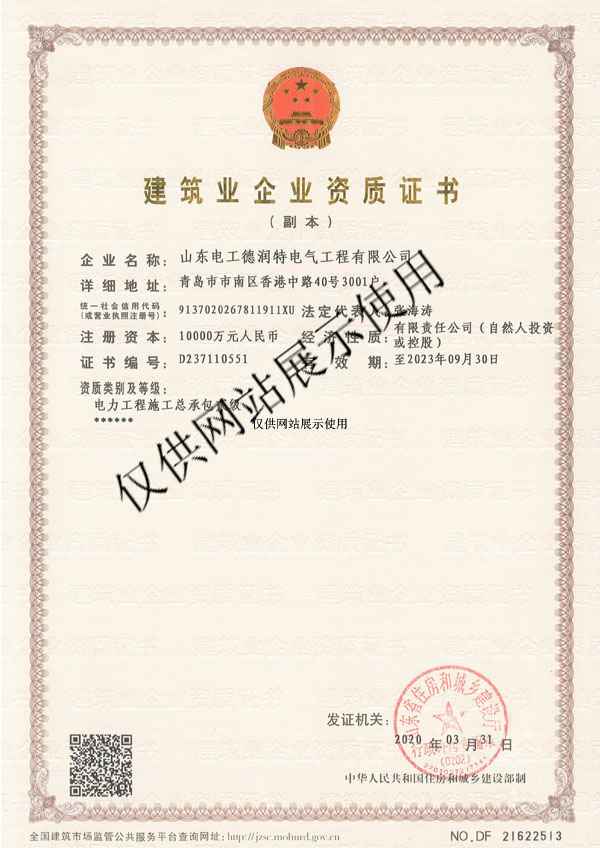
具有电力工程总承包三级,承装三级,电力行业专业设计丙级,信息系统集成三级,城市及道路照明工程专业承包三级,电子与智能化专业承包
具有高压实验室、油务实验室、继电保护试验室、高低压成套试验设备、电力施工特种辆。具有高压实验室、油务实验室、继电保护试验室、高低压成套试验设备、电力施工特种辆。具有高压实验室、油务实验室、继电保护试验室、高低压成套试验设备、电力施工特种辆。具有高压实验室、油务实验室、继电保护试验室、高低压成套试验设备、电力施工特种辆。
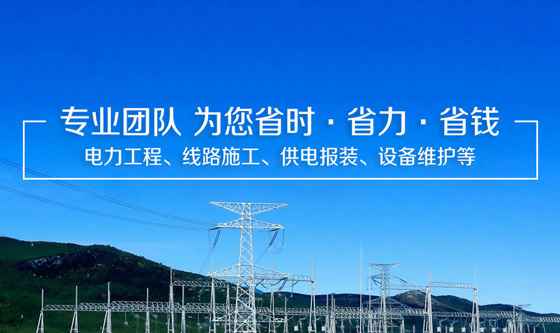
承接电力设计、电力设备生产制造、电力施工、试验运维等电力工程全过程业务。承接电力设计、电力设备生产制造、电力施工、试验运维等电力工程全过程业务。承接电力设计、电力设备生产制造、电力施工、试验运维等电力工程全过程业务。
从事电力行业超过10年,服务客服1150多家,设计和技术团队在电力行业均有资深工作经验,为国网电力公司、企业园区、工厂、新建小
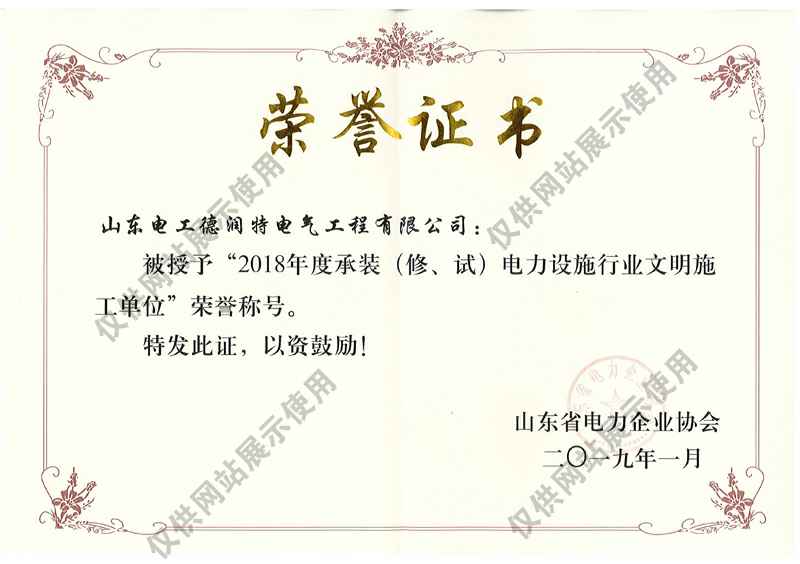
承接的工程均一次性通过业务单位、电力公司、监理单位验收并获得好评,多个工程项目获得 “优质工程”奖。承接的工程均一次性通过业务单位、电力公司、监理单位验收并获得好评,多个工程项目获得 “优质工程”奖。承接的工程均一次性通过业务单位、电力公司、监理单位验收并获得好评,多个工程项目获得 “优质工程”奖。
根据客户的项目标准、功能定位不同,量身定做,提供最优质的技术施工方案。
诚聘岗位:
1. 标书制作员
2. 安质专责
3. 造价成本经理
联系电话:
简历投递邮箱: